This fun craft project is for those who love making candles just like me. Crayon candles are so easy to make and they are so beautiful and bright. By following this guide you’ll be able to make fabulous crayon candles.
If you and your kids are stuck at home due to this pandemic or any other reason then this is the perfect time to make crayon candles. Your kids can even help you with crayon candle making as it's really easy, a little time-consuming and it can kill their boredom too. The process of making crayon candles, however, should be done under the supervision of an adult or is done by an adult.
Origin of Crayons:
Early crayons appeared around the beginning of the 19th century and were in black color only. They were used as waterproof markers in plants and factories. Colored crayons were also introduced at the same time and used in artistic works. Both Colored and black crayons were toxic and were not appropriate for children especially. After some years children-friendly crayons came into being.

Crayons for Toddlers:
Toddlers are in the process of teething so they have an uncomfortable sensation in their gums. To relieve this sensation they might bite down on anything they hold or find nearby. If you are giving your toddlers crayons or pencils or erasers then you should be very careful. Never leave toddlers unattended with such things.
Know the composition of crayons before making crayon candles:
Crayons are made up of a blend of regular wax and dry color. Usually, beeswax, carnauba wax, and paraffin wax. Modern crayons also contain some synthetic wax-like material.
Here are some crayon types along with their details:
Beeswax Crayons:
Beeswax crayons are the best crayons for your child. Its colors are very vibrant and gorgeous. Honeybees produce renewable all-natural wax known as beeswax. Honeybees used this natural wax to construct the honeycombs inside their hives.
If you compare beeswax with petroleum-based paraffin wax, beeswax is better. In strength and length, beeswax crayons are no less than petroleum-based paraffin crayons. The material used in paraffin crayons and beeswax crayons creates the difference. Beeswax is not only best for the use of children but also it's much better for the environment.
Beeswax is best for people with sensitivities and allergies as beeswax is hypo-allergic. It is a very clean burning wax so it keeps the environment of your house clean. If you want to make traditional waxy crayons then you would use 10% beeswax and 90% carnauba wax.
Soy wax crayons:
In standard crayons making, Most of the crayons are made up of petroleum-based paraffin wax but you can also make crayons by using soybean oil. Soy crayons contain 85% of soybean oil. It's really easy to make soy crayons.
You just have to add a pigment agent after melting soy wax flakes. You can melt color wax or regular either in a microwave oven or on a stove on medium or low heat. Firstly, add dry color to melted wax with the continuous blending of the mixture. Continuously blend till the dry color is thoroughly dispersed. Pour the mixture into the desired mold and allow it to cool completely.
Soy crayons have brighter and soother colors that do not flake. Soy crayons have environmental benefits as soy wax is a renewable resource.
If you compare soy wax with paraffin wax, soy wax is a better alternative to old-fashioned petroleum-based paraffin wax. Paraffin wax produces harmful by-products on burning and on melting. Soy wax is a non-toxic wax and it also decomposes more quickly as compared to paraffin wax. Prang Crayons are an example of soy crayons.

Carnauba wax Crayons:
The crayons made up using carnauba wax as key ingredients are the best crayons. Carnauba wax is the hardest natural vegetable available as it is obtained from the Brazilian palm tree's leaves.
Carnauba wax’s source and concentration make it highly-priced wax. It is non-toxic and safe to use. Using only Carnauba wax in your homemade crayons would not work as these crayons will be too hard for coloring. Your favorite crayons are usually made up of plastic-like wax so you can replace it with carnauba wax that is the perfect plant-based wax.
Paraffin wax Crayons:
Paraffin wax is a very low price wax and is most widely used for beautiful candle making. Candle brands are considered their favorite because of their quality of holding high amounts of color and fragrance.
Paraffin wax is used in making different types of candles because of its availability in various melting points. When you burn a paraffin candle it emits toxic fumes and black soot just like diesel exhaust. It also contains a large number of poisonous chemicals that are harmful to health.
Crayons are usually made up of colored wax. The colored ingredients of crayons are non-toxic. Hence, there is no danger in using paraffin crayons. Paraffin wax does not have a smell as it is made up of distilling petroleum or shale.
Crayola crayons are primarily made up of paraffin wax. To make paraffin wax crayons, melt the paraffin wax and mix it with the measured amount of color pigments. The crayons will cool and become solid after passing 4 to 7 minutes.
Follow the same steps for coloring Crayola crayons.
Crayola crayons are made up of color pigment and paraffin wax. You can prefer burning crayons over candles because it doesn't have any smell. That’s why it's ideal for use in cosmetics, polishes, and candles. You can scent with any smell. Also, it comparatively burns easily. It also acts as the key ingredient of Crayola crayons.
Check crayons for expiry before using in crayon candles:
Usually, crayons are considered long-lasting and very durable items. If your stored crayons get dull then this doesn't mean the entire crayon is not useful anymore. You can easily bring it back to life by heating it slowly using a hairdryer.
Broken Crayons:
Children mostly break crayons and make smaller crayon pieces. This can enhance one of their development skills that help children learn proper grasping patterns. Make sure to remove paper wrapped around crayons before giving them to children.
If you want to protect crayons from breaking then you can wrap duct tape around the middle of the crayons. Duct tape will support crayons and chances of breaking crayons will be minimized.
If you have plenty of broken crayons and don't have any idea what to do with them. There are many unbelievable things you can do with broken crayons. Below are some of them:
- Melt old crayons to make new.
- Make candles from broken crayons.
- You can make beautiful hanging ornaments with broken crayons.
- Add broken crayon to slime to make it colorful.
- Use broken crayons in glue guns to make mail seals.
- You can make crayon play-dough with broken crayons.
- Decorate things with broken crayons.

Use broken & old crayons for decorating crayon candles:
You can use old or broken crayons to decor the candles. For this, you need candles, a disposable tablecloth, crayons, and a blow dryer.
You have to peel off the crayons for using them in decoration. After that place candles on the disposable tablecloth. Create your desired art on the candle. Crayons and candles both are waxes so we require no additional glue to join them.
You can use the splatter effect to decor the candle. In this method, you have to hold the crayon above the candle and heat the crayon with a blow dryer. The crayon will melt and fall onto the candle.
If you want to draw an object then you will need to repeatedly heat the crayon with the blow dryer. If you want to write any text on the candle then using a black crayon is best.
Making crayon candles making: step by step guide
Here is a quick guide for a person who is craft fanatic and eager to make homemade candles. If you already tried any fun crayon craft at home then it's really easy for you to make a crayon candle. But if you are new to this art then you can also make crayon candles with little conscious effort and follow this guide step by step. Before starting making crayon candles, You have to arrange all the required supplies for making homemade crayon candles.
Supplies needed to make crayon candles:
To make homemade crayon candles you need wax, old crayon, candle wick, and some other supplies. Here is a list of all the supplies you’ll need for making crayon candles with a little description. You can easily buy these items online or from any nearby store.
- Tabbed wicks: you need a candle wick with a neck at the bottom. You can also use untabbed wicks but that is comparatively difficult to use. You can also make crayons candles without a candle wick. Keep this thing in mind that these candles won’t burn very brightly so you can use these candles for additional light.
- Crayons: Suggested crayons are the Crayola brand that works best. Try to grate the crayon to make it easier to use. Some people find washable crayons don't work perfectly for candle making. You can also use old broken crayons for crayon candle making.
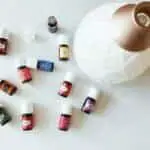
- Candle Scent: You can use any of your choices. Avoid using perfumes that are highly flammable.
- Candle Holder: Most popular materials for candle holders are glass jars, ceramic jars, and metal jars. You can also use a mason jar.
- Wax: crayon wax is not the same as candle wax so you have to add some regular candle wax into the mixture otherwise the candle won't burn for very long or not be very bright. Candle wax required to follow this guide is in pellet or flakes form. If you don't find candle wax, you can also use an old white candle as its replacement. Before using these candles make sure to take the wick out and break the candles into small pieces.
- And other candle-making accessories like measuring cups, thermometers, spoons, wooden skewers or pencils, etc.

Let’s make the gorgeous crayon candles!
After you gather all the required supplies, then you can start making your homemade crayon candles. Following is the step-by-step guide to making crayon candles.
Let’s break the crayon candle making process into the following three main steps:
Setting Up The Supplies:
In the first step of crayon candle making, set up all the supplies needed. First of all, you will measure wax to fill your candle holder. You also need some excess wax because the wax will shrink when you melt it. Wax in pellet or flake form will melt a lot quicker. If you have wax in block form then you have to cut it into smaller pieces to make it melt quicker. You need wax to add in crayon candle making because candles made from pure crayons do not burn well.
After placing wax aside, you have to peel a crayon. You can do it by soaking in water for a few minutes or by using a craft blade.
If you want to make layered crayon candles, peel one crayon per color.
The glass container cup size of 225 grams needed 6 crayons of different colors. Set the crayons aside after breaking them into smaller crayon pieces.
In the case of making layered crayon candles, be careful to keep the colors separate. Place a tabbed wick in the center of the glass candle holder and fix it with a drop of hot wax.
You can also use double-sided tape or glue or a hot glue gun for securing the wick. There are self-adhesive candle wicks available too. To keep the wick steady you have to place two sticks on either side of it.
Lay two sticks across the mouth of the candle holder. Sandwich the wick between the two sticks to make it stand straight.
Melting the Wax and Crayons:
In this guide, we are using a double boiler method for making wax and crayon melt. Take a saucepan and up to two inches fill it with water.
Place a heat-resistant measuring cup into the pot. After this place the wax and crayons into the glass container measuring glass cup.
If you are about to make layered crayons candles then melt each color in a separate batch. You have to wait for the previous color layer to melt to start the next color layer.
Over medium heat wax melt along with crayons. You have to stir often with a stirrer to make melting crayon wax mixture more even. The stirrer can be a spoon, disposable chopstick, or popsicle stick.
By using a potholder or oven mitt, take the measuring cup out of the water. Set it down on a heat-safe surface with care as it is very hot.
If you want to make a scented candle then you have to add any scent or essential oil then you can add it into the melted wax. After adding scent drops make sure to stir the wax to mix everything. It's really hard to clean the wax once it has cooled down.
If you want to clean the wax then its best solution is to clean it by using hot water and using a tissue to remove the wax.
You can also melt the crayons and wax in a paper cup in the microwave. Don’t keep crayons in the oven for a super long time as crayons are flammable. Take the crayon pieces so small that they take as little time to melt as possible. On melting crayons smells bad just like the bad smell of plastic on melting.
Pouring the crayon wax mixture:
If you plan to make solid colorful candles then pour the melted wax and crayon mixture into a candle holder. Fill the crayon/wax mixture almost to the top of the candle holder.
If you plan to make layered colorful candles then don’t fill the candle holder to the top. Wait for the mixture to be hardened before adding other colors and layers. If you add the second layer too soon without waiting then you might end up making an ugly colored wax candle. Wait for almost 20 to 30 minutes before adding the next layer.
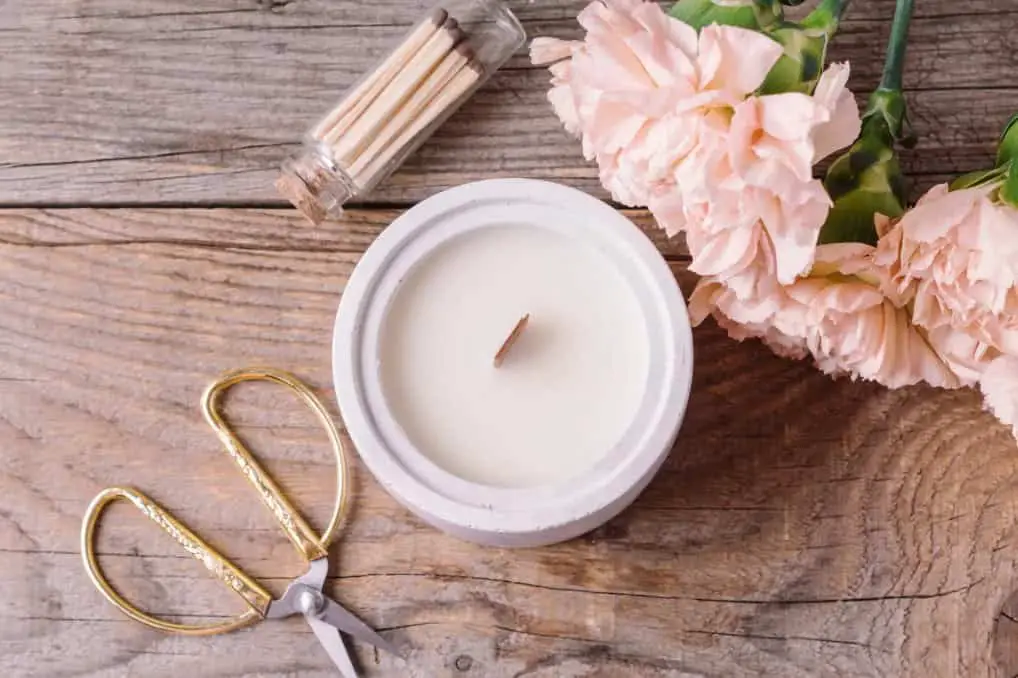
This may take several hours for the candle to harden completely. You have to wait for it but if you want colorful candles urgently then you can keep the mixture in the freezer for 2 to 3 hours. Before using candles you have to trim the wick down to ¼ inch. This is to avoid the fire hazard as the long wick won’t burn right.
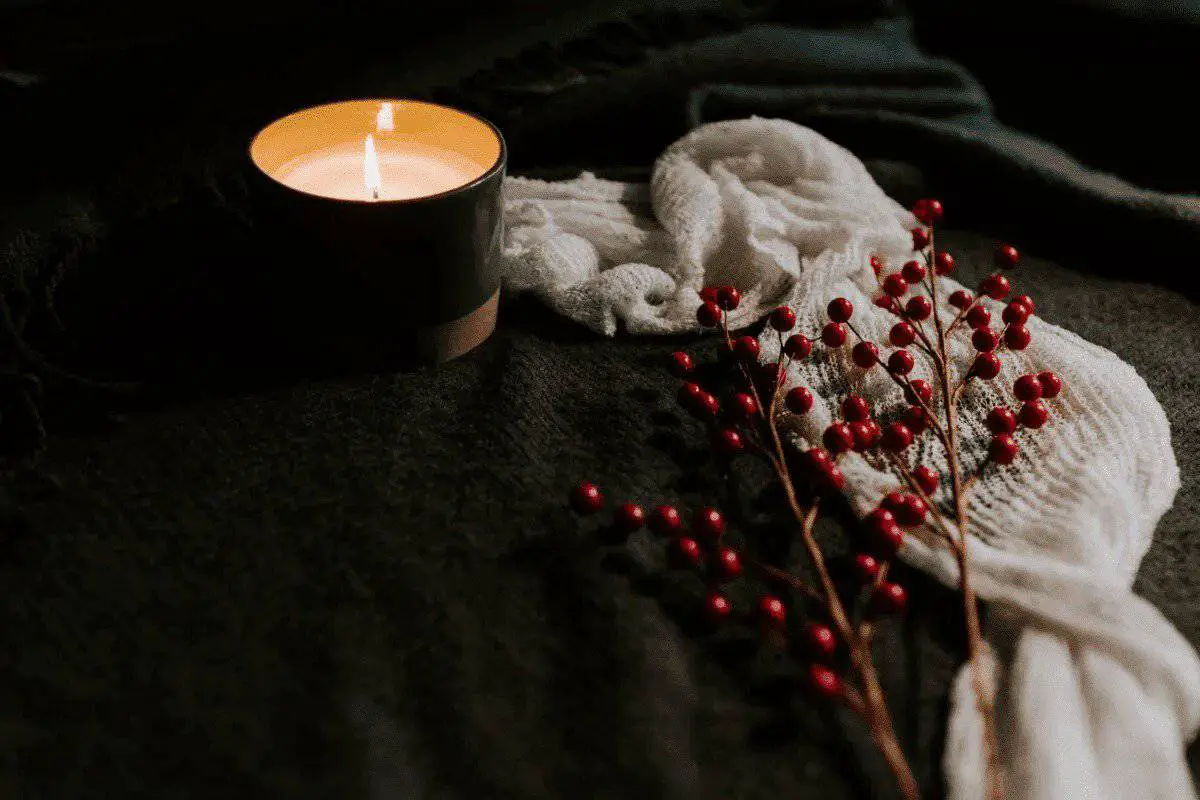
Your homemade crayon candle is ready to use now. A crayon candle can be your emergency candle you can burn if the power supply is cut off. The burning time of the standard-sized crayon candles is around 30 minutes.
So, this is the end of the tutorial for crayon candle making. I just hope this tutorial was helpful to you and provides answers to all your questions related to crayon candle making. Hopefully, you make your desired homemade crayon candles by following this tutorial. But if you have any questions, leave them in the comments.