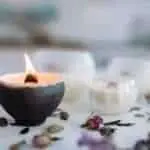
Each day we share an amazing DIY recipe for making candles with natural ingredients like soy wax or beeswax in pure essential oils to give away. Homemade candles are always the best, and today, I am excited to share how to make your own mason jar candles!
Mason jars have stylishly evolved from being used as containers for canned and preserved foods to the cookie jar, coffee cups, and customized candle containers. The possibilities are endless in the DIY world and beyond.
Whether you’re interested in DIY crafts or simply inspired by the DIY-geeks on YouTube, mason jar candles are an easy and great place to repurpose the mason jars hiding in the back of your cabinet. Wondering if the process would be difficult and messy? I have been there, and trust me, the process is surprisingly easy, and the results are stunning.
Let’s start with making your own mason jar candles!
From layered rainbow jars to floral-infused soy and beeswax candles, let’s get creative and cozy with some attractive designs and refreshing fragrances. These mason jar candles give aesthetic vibes to your home and also double as home decor.
This step-by-step guide to making mason jar candles will make you feel confident in candle making. You can make jar candles of different sizes, colors, and scents. You can use old transparent glass, jelly jars, a transparent cylinder, or any vase, etc., to give it a structure. But be wise while choosing the glass. Hot wax or candle flame can crack a thin glass. Without further ado, let’s get into the supplies you need to make DIY jar candles.
Supplies you need to make mason jar candles:
Nearly all the things needed to make candles in a jar can be found easily at your home except for some (like wax pellets. You need to order them online or buy them from a store). You can make mason jar candles to decorate your room, or you can give them to someone as a present.
Below is the list of supplies you will need to make container candles:
- Beeswax or natural soy wax flakes.
- Wax dye to give color to your candle.
- Medium-sized cotton or wood wick
- Mason jar to pour and give structure to the jar candle.
- Peg to hold the wick in place as the glue dries.
- Essential oils, particularly citronella essential oil
- Hot glue gun to stick the wick inside the bottom of the jar.
- Scissors to cut the excess wick
- Wooden spoon for mixing the melted wax pellets
- A kitchen towel
Process of making DIY mason jar candles:
Now you have all the essential supplies you will need to make your aesthetically pleasing DIY container candles. It’s time to show the world how creative you are!
Remove the inner sealed portion
Let’s begin by first removing the inner sealed portion of a small-sized mason jar lid. We don’t need it, so it’s better to remove it. Then clean the inside of the mason jar with a kitchen towel. This way, any dust or dirt particles attached to the mason jar will be removed. Now you have a spotless surface to pour your wax.
Attach the candle wick
The next thing that you have to do is attach the metal base of the wick to the bottom of the mason jar. First, run your fingers through the wick to smooth it out. Place some hot glue below the metal base. Carefully lower the wick in the glass jar by holding the top of the wick to stick the metal base in the middle of the Mason jar. As it reaches the center, take the end of the wooden spoon and slightly pressurize the metal base. The point behind this is to avoid floating wick. You can also use a 100% natural cotton wick and fix it to the bottom using tapes.
Use the peg to hold the wick straight
It is important to hold the wick in place until the glue dries. For this reason, wrap the other end of the wick around a pencil and secure it with a peg. You can also use a wick holder instead of a peg. It will hold your wick straight and will not let it crumble while you pour your molten beeswax inside the mason jar.
Melt the wax
Now comes the most awaited part ‘melting the wax”. I think melting the wax is satisfying to watch, so it is one of the most exciting parts of making a DIY mason jar candle. Take a heat-resistant pouring pot and place it on the stove. Light the flame on the lowest heat possible. To make a soy mason jar candle, pour the soy wax pellets inside the pot and stir it while keeping the fire at the lowest heat. Stir until it melts down completely. Alternatively, you can also use a double boiler or microwave in a heat-safe bowl.
Add color to the wax
The next step is to add color to the wax. You can choose from blue, orange, pink to color your candles. Or you can leave it white. Use a candle dye block. A dye block is cut into small pieces, and some parts are added to the melted wax. As it melts, it gives color to the wax.
The other products that you can use as an alternative to color dye are crayons and liquid colors. They are dyes but in liquid form. Add a few drops of that color to the wax and stir until you get your desired shade.

Add scent to the wax
Now it is time to add your favorite essential oil to the melted wax. Add whatever fragrance suits you the best. You can add the smell according to the person’s choice to whom you are gifting the candle. One of the essential oils is citronella essential oil. Now you have a melted mixture of your scented candle.
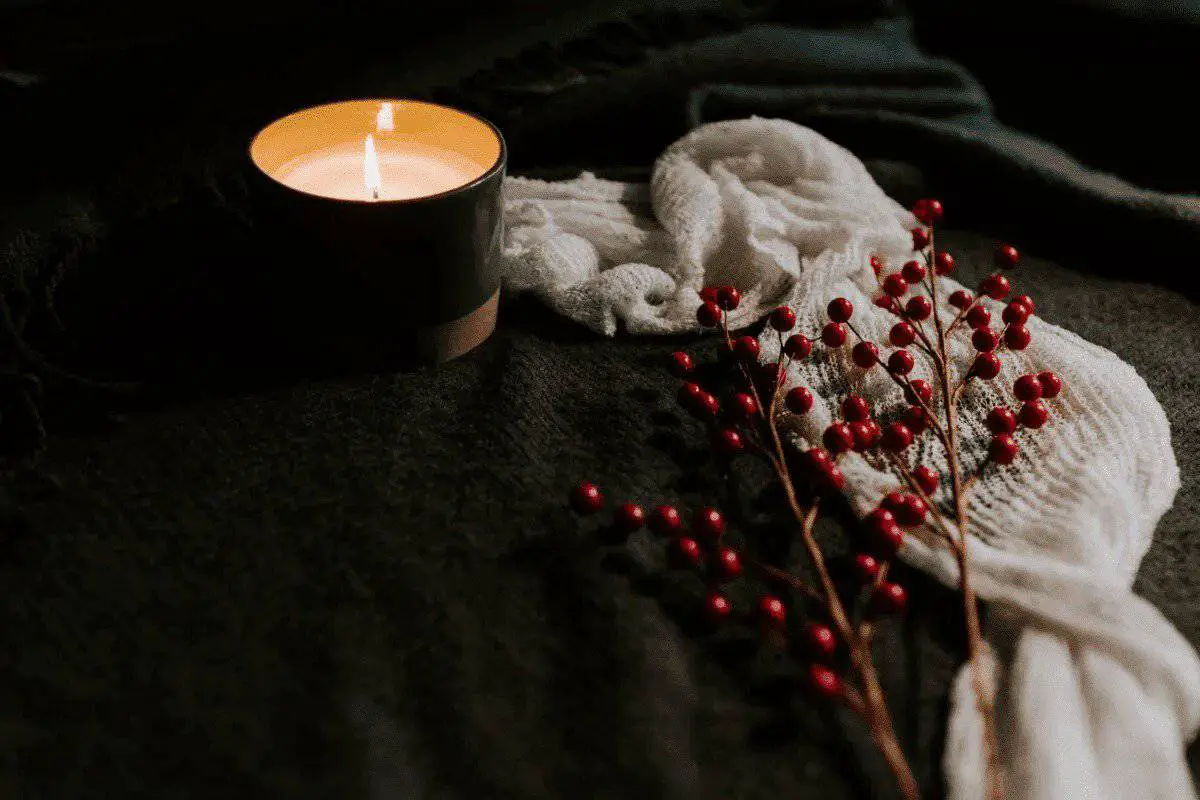
The benefit of using mason jar citronella candles is that it slows the maturation of harmful airborne bacteria. When the candle burns, the wonderful scent of the citronella essential oils diffuses throughout the room and repels insects or mosquitoes as well. Here’s our detailed blog on making DIY citronella candles.
However, you can add any essential oil according to the occasion or season. Read our comprehensive list of the best essential oils for making scented candles. Natural fragrances like lavender diffused from the essential oils trigger brain receptors and enhance mood. The ratio of fragrance oil is 1 ounce of fragrance to 1 pound of wax.
Pouring the mixture into the mason jar
Wick has been fixed; has melted, dye and fragrances have been added. Now, be patient and make sure the melted wax has cooled down before pouring. You have to wait for 20 – 30 minutes before you can pour your melted wax inside the mason jar. This step is essential so that the center of your candle doesn’t crumple while cooling.
As your candle cools, it starts getting thick. When you see that the thickness of your melted wax matches the consistency of slush, it’s a sign to pour the melted candle inside the jar. Once inside the mason jar, leave it to solidify completely. You should leave your mason jar citronella candle for 24 hours, at least before you lit the candle.
Cleaning the pot
You might notice/There might be some residual candle wax on the pot. You need not worry. It can be cleaned easily. All you need is a spoon and a kitchen towel. First, heat the pouring pot with residue for about 10 seconds. The residual candle will melt. Use a wooden spoon and paper towel to clean it. Repeat this over and over until it’s nicely cleaned.
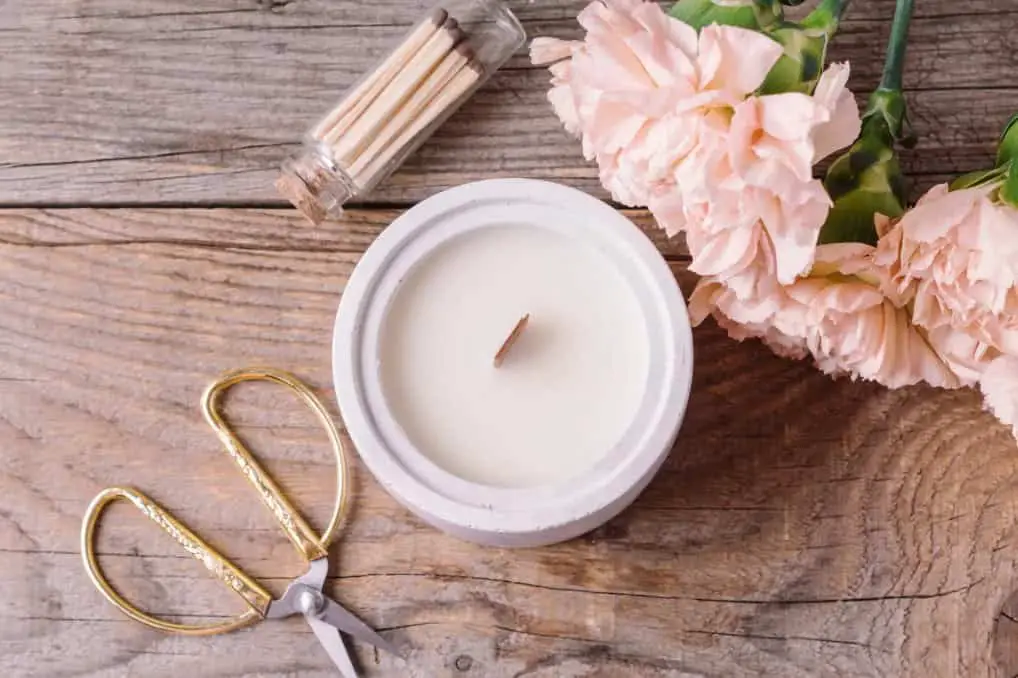
Trim the wick:
After the candle has been solidified and is ready to be lit, one last but not the least step is trimming the wick. Cut it to about ½ inches. And finally, your very own aesthetic mini mason jar candle is ready to be gifted; to be used; to be lit!
Congratulations! We have made the mini mason jar candle together-Pat yourself on the back for such a fantastic job. I will show you some easy ways to decorate the mason jar candles you can gift to someone you care for.
Different ways you can decorate the jar candle

Decorating a DIY mason jar candle using a fabric
Are you looking for a great gift idea for bridesmaids? Mason jar candles are trendy for bridesmaids. You can also give it on other occasions. A handmade gift like this at home can save you both time and money, and they look adorable at the same time.
Additional supplies:
To decorate mason jar candles with fabric, the supplies that you will need are:
- Fabric
- Stamp ( I am using a "Thank You" stamp)
- Stamp pad
- Round bowl, or something you can use to trace a circle around the fabric
We will create a cover made of fabric to place it on the top of the mason jar candle. Trace a circle on the fabric using the round bowl. Carefully cut out the circle shape. Then stamp your desired print onto the center of the circle shape that you just cut out.
Next, drape the fabric containing the stamp over the tip of the mason jar ( with no lid). The purpose of the top is to secure the cloth over the mason jar. Screw hard and set the fabric from the sides till it becomes smooth and uniform. If you wish, you can also add extras to make it look cuter. For instance, you can add a little string or twine and tie and bow.
Decorating the mason jar candle using hard paper
The supplies used will be the same, just as the one mentioned above. The only change we will make here is that we will be using stiff paper or a card instead of fabric. The mode to decorate jar candles is also quite popular among candle lovers and online candle companies.
First, we draw a circle on the card using the jar’s lid, so we have the shape of a circle of the same diameter as the lid. Next, cut out the circle as we did it before. Then stamp your required design on the center of the stiff paper or the card. Place this hard paper inside the lid and close the jar tightly using the cover. You can add fun accessories to decorate it further, such as twine.
Now you have learned how to make a DIY mason jar candle, and you have also made your very first candle. The plus point of this is that you can control what goes inside your candle. Don't like a particular fragrance? Don't add it to your candle. Like a specific color but can’t find that candle in the market, buy the dye and make it yourself! Allergic to scents? Don't add them to your candle. You can get as creative as you like, pull out those suppressed skills from inside yourself, and surprise the world with your creativity!
Add stuff in the wax to decorate jar candles
When it comes to decorating the jar candles, it’s not only the exterior you can design. You can also show your creativity to the interior of the DIY jar candle by decorating it in different ways. You may ask how? Here are some wonderful tips you can use to decorate the inside of the candle.
Add colors to your mason jar candles
One idea that I have is that you can make different color patterns for your DIY jar candle. You can make ghost-white mason jars brilliantly colorful. You will need to make some extra efforts to make them bright, but it will be worth it.
For this, take a pot and add wax pellets to it. Heat it, add essential oils, and scent it as you would when you make a monochromatic jar candle. All the procedure is the same except the dye. Once all the pellet has melted, take two more heat-safe pouring pots or bowls in which you can pour your melted candle wax and heat again (if necessary).
Steps to add colors to melted wax

Choose any colors you want your candle to have. Here I chose three of my favorite colors; red, yellow, and orange, to create a sunset-inspired pattern.
- First, add red dye to one of the pots containing melted wax.
- Next, add orange to another pouring pot and yellow to a different pouring pot.
- Stir and continue adding the colors until you get your desired red, yellow, and orange. Try to do these steps a bit faster so your candle wax doesn’t cool down. If it does, you can heat it again.
- Once all your waxes in those three pots have reached the state where their texture starts to resemble the surface of the slush, you are ready to pour your waxes. But before that, I hope your DIY mason jar containing the candle wick is prepared.
- Carefully fill the mason jar with a red-colored candle wax but do not fill the whole jar. Fill minor than half of the glass jar with a red-colored wax. Wait for half-hour until the wax hardens. If the melted wax doesn’t set, you have to wait a few more minutes.
- Then add the yellow-colored wax and fill the mason jar slightly more than half. Please wait until it solidifies.
- At last, add the orange-colored candlewax and let it all set.
Finally, you have your red, yellow, and orange colored DIY mason jar candle. Depending on the event, you can change the color palette and fragrances for different occasions or depending on the person's choice.
Shine up your jar candle with glitters
Another way to decorate your jar candle is that you can also add glitter to your hot melted wax in addition to essential oils and scents. This glittery shine will make it look aesthetically appealing. Your candle will glow even more!
Jar candle as a secret gift hider
This use is one of the best uses of the jar candles that I have for you today. So basically, what this title says is that you can use a jar candle as a gift hider. For example, you can hide a ring inside the container. For that, you have to make the candle a bit smaller, like a small votive candle or tea light candle, to surprise the person when they use it. Or you tie a card with the candle, which gives hints about finding gifts inside. For example, you can link a card saying, “Melt the candle to get surprised,” or use a similar quote. These ideas can be really thoughtful and bring a smile to the person for whom you make these.
Or you can buy a ring candle online. We have a separate review blog post about the best ring candles to help you find the best ring candle for your loved ones. Don’t forget to read that before you make any purchases.
Conclusion:
I feel crafting candles on your own instead of buying them is really good. When you think and make a gift for someone and then customize it, keeping in mind the likes and dislikes of the person, it is thoughtful of you. It shows the love and affection you have for the person as you spend your time and energy to create it. The handmade gift automatically becomes expensive.
When making a DIY mason jar candle for a special event or a special one, make sure to do a try first so you don't mess up the real one. And if you do mess up, you can always try again. We learn from our mistakes, and it’s always okay to make a mistake.
Thank you for staying till the end. We hope you have learned something from us today and that you will amaze everyone with your creative skills.