Do you have old wine bottles lying around your house that you don't know what to do with? Here is an easy idea: turn them into candles. Wine bottle candles are a beautiful way to reuse and recycle beer bottles while creating a one-of-a-kind home decor in a stunning candle holder.
Recycle old wine bottles into wine bottle candles
Have you ever thrown away an old wine bottle? I bet you wish you had known about this idea first. Wine bottle candles are a great way to reuse old wine bottles and make some gorgeous candles for your home.
Old wine bottles can be found at the bottom of your bin after a big festivity, or be able to pick them up from the local recycling station. Either way, recycled wine bottles are great for all sorts of things.
A good idea is cutting the recycled wine bottle in half and using one side to make a wine bottle candle – no need for scented oils when they can just look like cute little candles in a wine bottle candle holder. So, let's get started!

Materials needed for making wine bottle candles:
Here’re the supplies you need to cut and make wine bottle candles.
- Old wine bottles
- Bottle cutter
- Pliers; to loosen the bolt to adjust the bottle cutter’s cutting length.
- Fine wet/dry sandpaper
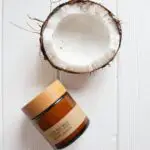
- Candle making soy wax
- Candle wicks (wooden wicks or cotton wicks).
- Toothpick or clothespins to hold your wicks
- Double boiler or two large pots
- Hot and cold water pots
- Glue gun
- Optional: Candle color, fragrance, or essential oil
Making wine bottle candles
Apart from being a wine lover and having an abundance of empty liquor bottles lying around, I have a deep love for the holidays and crafting. Making my own bottle candle from the wine bottle is one of those things that makes me feel so creative yet practical at the same time!
Making a soy candle using a recycled wine bottle is definitely one way you could put some life back in the holiday season of your hard-to-buy relatives and friends; by giving something meaningful instead of lending money or bringing food that most likely won't be appreciated anyways.
You can make them yourself just like I did. All you need is some old wine bottles (of course), soy wax, wicks, and melting pots. But, let’s first remove the labels from the wine bottles.
Not sure how to remove the labels from bottles?
The first step is removing the labels from your old wine bottles to make wine bottle candles. But how do you remove wine bottle labels without damaging them? The easiest way is using the hairdryer method – simply heat your old wine bottle with a blow dryer until it's warm enough for you to peel off the label.
The second option would be to soak them in hot water or use boiling water and baking soda paste. If you're looking for a less messy way to remove wine labels, then this is the method for you.
Beer bottle labels are typically hard to remove. The best thing you can do is soak them in hot water for a few hours to loosen the glue.
If the labels stick stubbornly to the glass, you can use a little bit of vegetable oil. Apply it generously to the label and let it soak in for about 15 minutes before trying to peel it off. If that still doesn't work, you can try using a razor blade (but be very careful not to cut yourself).
Once your wine bottle is label-free, it's time to cut down your wine bottle into a new wine candle. But, it is easier said than done!

Cutting wine bottle to make wine bottle candles:
You may have seen candles made from wine bottles and questioned, "how do they cut glass?" The method is really straightforward. All you have to do is find the right tool, hold tight on your grip and start slicing away. And the good news? These pretty wine bottle candles come together quickly; it only takes a few tries before you have mastered it. There are many ways you can do it, and the best one for your needs might just be one of the following techniques!
Method 1: Cutting glass wine bottle with a flame:
- The first technique is an old-fashioned way to cut glass bottles using a flame to make wine bottle candles. Use a glass cutter to create a perfect line from where you want the wine bottle to break; otherwise, you can just freehand it.
- Heat the mark that you created. Hold it above the flame of a small candle or gas stove until it becomes red hot.
- Constantly rotate the bottle to ensure full coverage.
- Once it's hot, use a pair of pliers to quickly grab and twist off the top half of the wine bottle.
- If you're having trouble twisting it off, then use a hammer to tap around where the two pieces meet.
- It should break right off after a few light taps. The process might take a little longer and require more effort.
Method 2: Cutting glass wine bottle with boiling water:
- Another way to cut wine bottles is by using boiling water.
- Use a glass cutter to create an even single line around the glass. You’ll need to proceed with this activity at the sink.
- Boil a pot of water and pour it over the area you want to cut on the wine bottle. Don’t pour it over a wide area as you want only the scoreline under tension from the heat.
- Immediately set it under the ice-cold water to cool down the glass. It will not break in the first go.
- Take the bottle and pour the boiling water over the tension line, and dip it in the ice-cold water again. Repeat the process back and forth, and this will cause the glass to shatter evenly at the scoreline.
- You can then use a pair of pliers or hammers to remove the top part of the wine bottle.
- Use sandpaper to smooth the glass edges to a soft finish for making wine bottle candles.

Method 3: Cutting glass wine bottle with yarn:
- Tie a piece of yarn or cotton string around the neck of the wine bottle you want to cut. Tie the ends in a knot and cut off any extra yarn.
- Once you've done that, remove the string and place it in a small dixie cup containing acetone.
- Let it soak for a minute or two. You can always pour the excessive acetone back into the bottle.
- Slide the string back on the bottle. Make sure the loops of yarns are tied together so that you get a leveled strain line.
- Light yarn on the bottle using a match or lighter. Twirl the bottle slowly so that the entire area is heated for 20 seconds. Wait until the fire goes out itself.
- Fill your sink with ice-cold water and dip the end of the wine bottle with yarn directly into it. You’ll hear the pop sound of glass breaking.
- If there are any jagged edges on either side of the glass after cutting, use rough sandpaper and later fine-grit sandpaper to smooth them out. This way, the wine bottle candles won't injure anyone or scratch surfaces around them.
Method 4: Cutting glass wine bottle with a Dremel:
If you have a Dremel, then this is another easy way to cut wine bottles. Dremel is a sort of electrical equipment, specifically rotary tools, that can split glass and other types of material such as wood, plastic, and metal.
When you’re cutting glass with the Dremel, it's important to keep in mind that this tool isn't just for traditional varieties. It can even cut fiberglass and plexiglass.
The Dremel is a fast and efficient way to cut wine bottles because it can work at maximum velocity-between 10,000 and 35,000 RPMs. It produces precision cuts with steady hands, but if your hand tremors or jitters while using the tool while cutting, then things won't go quite right for you!
Cutting with Dremel:
- The first step is choosing where you want to cut and then using two strips of masking tape close together (but not touching) as a thin line around the bottle while holding down the cutting tab on the Dremel tool- which will do all the work.
- Attach a glass-cutting bit to the end of the Dremel. Work your way around, slowly cutting the glass along the marked line. To gain a clean-cut, you may have to recapitulate (repeatedly cut) the same segment multiple times.
- There should be a warning note here on operating a Dremel wheel on glass because glass dust is very hazardous to our respiratory system. Make sure you wear protective eye and nose gear.
- Even safer to use a glass cutting machine where water is running to prevent dust from blowing into the air; despite that, the residual glass-dust-infused water in the tray must be disposed of carefully, NOT down any household drain.
- When the bottle snaps along the line, you will probably have some scraggy edges that need to flatten. Use rough grit sandpaper to level down the sharp pieces, then switch to a fine grit to make a soft surface. The glass pieces are ready for making your wine bottle candles.
I tried out a bunch of methods before settling on the one that worked best for me. Perhaps you can try some different things and see which technique works for your wine bottle candles.
I gave in to a bottle cutter
After a couple of failed attempts, I finally surrendered and bought the bottle cutter. It didn't work at first but ended up working perfectly after a few tries – it was like finding gold in your backyard garden!
It is not necessary to purchase a bottle cutter, but I highly suggest it. Especially if you’re having difficulties with any of the free strategies scattered around the internet, a bottle cutter is worth its riches.
Making of wine bottle candles:
Making wine bottle candles includes scoring the glass, using hot and cold water to stimulate glass cutting, and then filling the glass with a wick and scented wax. You can use any wax or wick you like; however, if you use a wooden wick in your wine bottle candles, then you surely can enjoy the flickering light and crackling of a mini hearth. Once done, you can gift them over the vacations or keep them for birthdays or other occasions. Keep a handful for yourself, too!
The perfect scoreline is the key!
Scoring your old wine bottle is the most important step in the whole process. Score a perfect, even line all around your bottle following the instructions on the bottle cutter.
You can also cut the glass using any of the techniques mentioned above, but they need practice. Also, they might result in an uneven line that will create jagged or sharp edges and also might even break the glass bottle.
Therefore, a bottle cutter is necessary if you need a perfect score. You can easily buy it online; it comes with easy-to-read operating instructions.
Set the bottle cutter on a tabletop following the instructions on the manual. Adjust the cutting section, so it creates a score about 4 inches from the bottom of the wine bottles. Although it is not stated in the manual, rotating the bottle to reinforce the line while cutting gives a deeper cut and even edges. However, it could still take up to two hours if you’re cutting with it for the first time.
All it needs is exposing the scoreline to boiling & freezing waters.
Take two pots, one with boiling water and the other with ice-cold water. Dip the bottle for twenty seconds in hot water, remove it, and then dunk it in the pot with cold water for another twenty seconds or so. Make sure the temperatures are at their extremes, incredibly hot and cold, and the scoreline is completely submerged in the water.
Continue switching between pots for twenty seconds each until you hear a crack sound. If the scoreline were made deep enough, the bottle would cleanly break in two (or more). Don’t get mad if the bottle breaks erratically. In that case, adjust the temperatures of the water and also keep extra bottles in reach.
Dry the wine bottle pieces and sand the edges.
Once you have cut the wine bottle into two or three pieces, allow them to dry. Then, soften down the sharp edges using sandpaper. It would take only a minute or so but be careful not to scratch the glass further down from the lip of the container.

Proceed with the simple candle making process:
- Melt your soy wax in a double boiler. Or you can use two wax melting pots, one larger and the other small enough to fit inside it. Fill the large pot with water and bring it to boil. Place the smaller pot (with your wax) inside it. The heat from the water below will melt the wax without burning it.
- The wax will soften quickly, and once it is all liquid, take the large pot off the heat (and small pot out of the hot water). Let it cool to the right temperature to add your favorite scent.
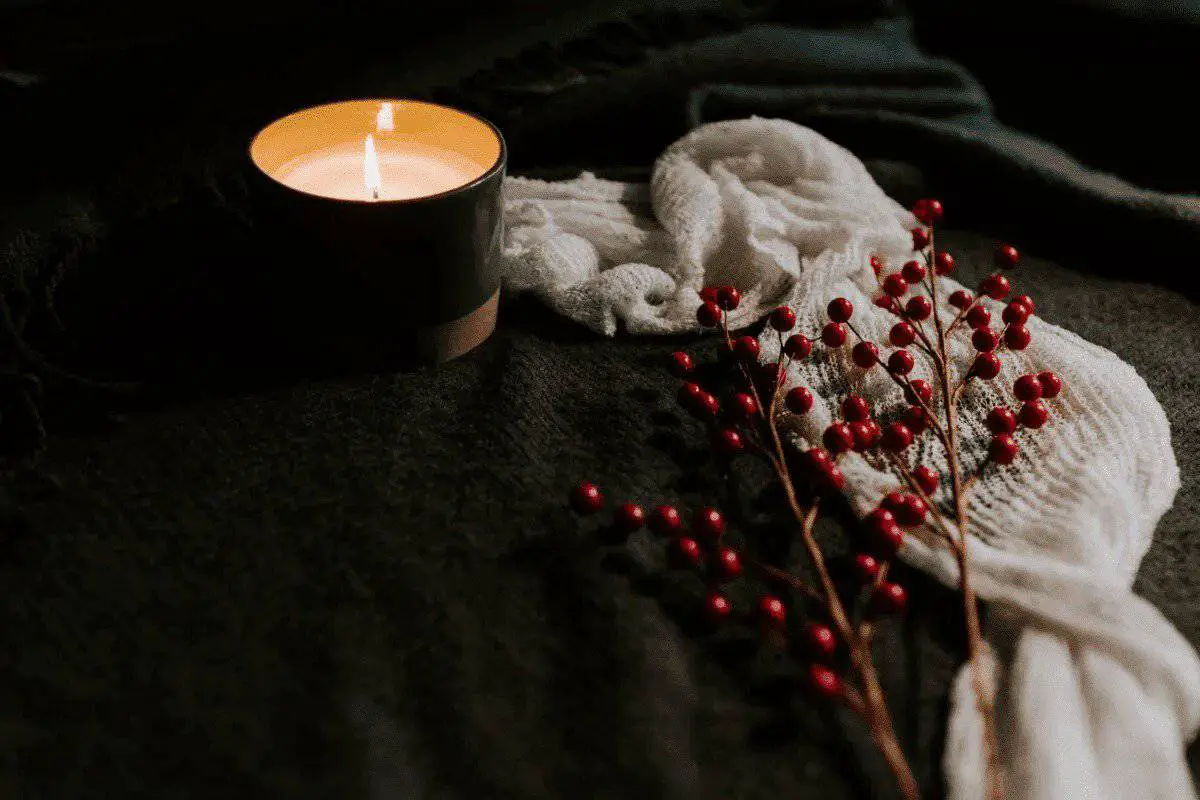
- While your soy wax is cooling, let’s wick your wine bottle candle with a wooden wick (which comes pre-tabbed). You can use a hot glue gun to fix it to the bottom of the container. Wooden wicks give you the vibes of a mini fireplace hearth.
- If you’re using a cotton wick, you’ll also need to secure the top so it doesn’t tumble over when you pour the wax in. The simplest solution to this is to use a pair of wooden skewers.
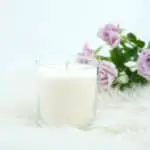
- Pour the cooled melted wax into the glass container using a candle pouring pot with a spout. Leave only about a centimeter space at the top.
- Allow your wine candle to harden overnight. Wash your pots and any utensils that are used with candle wax. Cleaning soy wax is easy with boiling water, but try not to pour it down the drains as it may harden and block them.
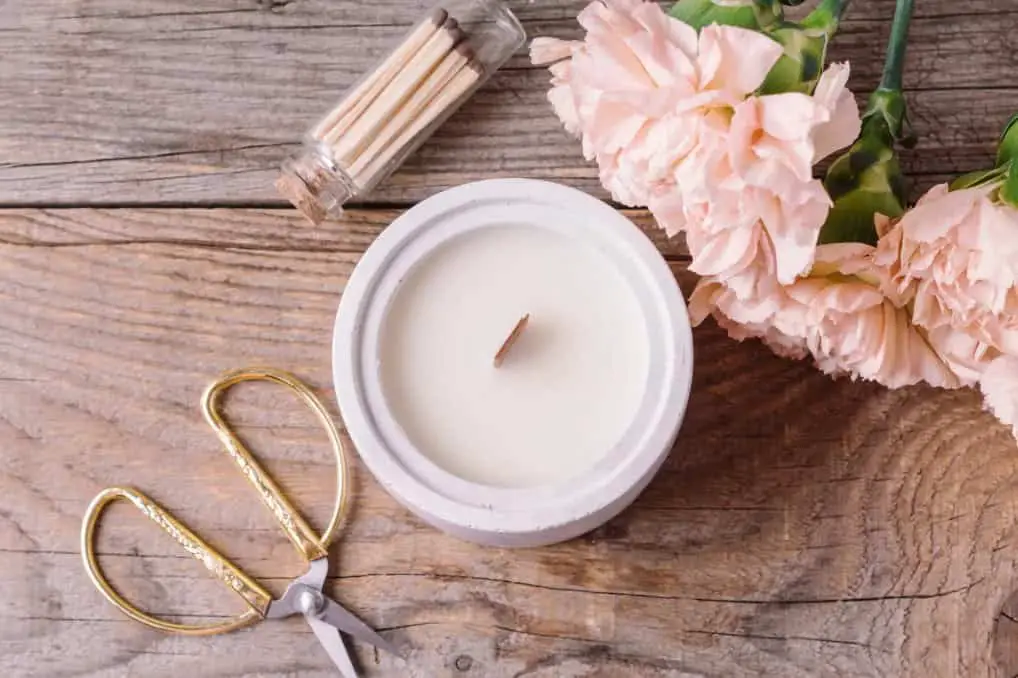
- Use a pair of scissors to trim both your cotton and wooden wicks to a similar height as the lip of the container, and your wine bottle candle is ready!
Final Verdict
Adding ribbons, fresh greenery, acrylic paint, or packaging your handmade soy wax candle in natural kraft gift boxes will make them a perfect gift that anyone would enjoy receiving this Christmas.
We would love to know what recycled wine bottle candle you created for this holiday season!